

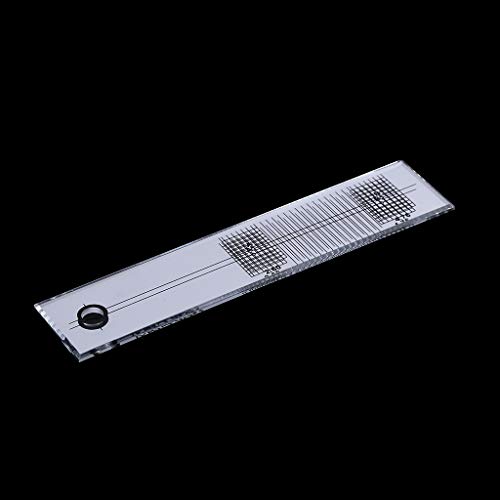
Stylus Scale Gauge
Step 1: Place the Adjustment Ruler
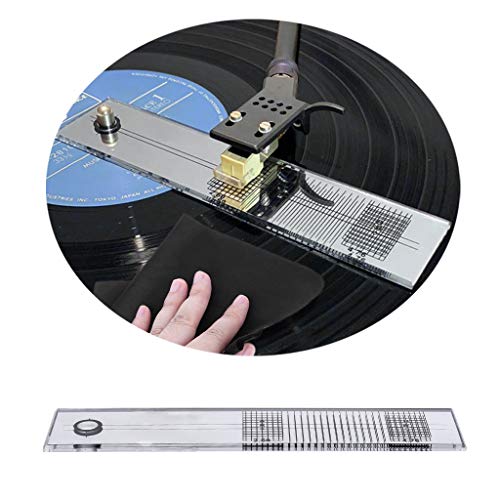
Place the adjustment ruler on the turntable shaft of the record player. This allows you to accurately measure and align the components.
Step 2: Drop the Stylus at Point A
Move the gauge and the arm to drop the stylus at point A. Adjust the angle so that the leading edge and the horizontal line on the scale remain level. This ensures optimal sound performance and reduces distortion.
Step 3: Verify at Point B
Move the gauge and the arm again to drop the stylus at point B. Ensure that the leading edge of the cartridge is perfectly aligned with the grid lines on the scale. This step enhances the overall accuracy and sound quality.
Step 4: Fine-Tune the Alignment
Repeat steps 2 and 3 to form a square at two points. This precision alignment ensures that the cartridge is securely and correctly placed. Simply loosen the screw, adjust the cartridge if needed, and then tighten it. Once it’s in place, secure the fixing screw.
Dimensions
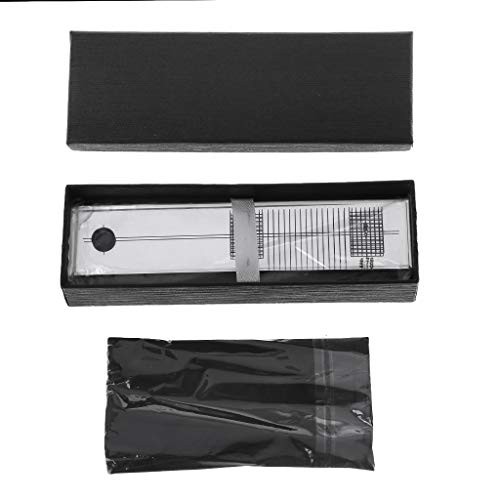
The adjustment ruler measures 157x35mm (6.18x1.38 inches), providing ample size for accurate measurements and adjustments.